|
Handmade reeds need time and patience.
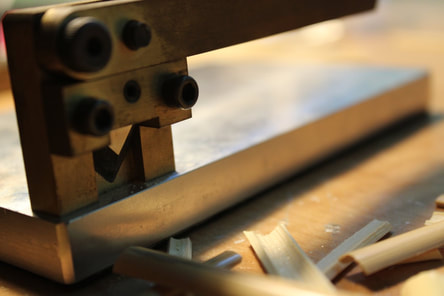
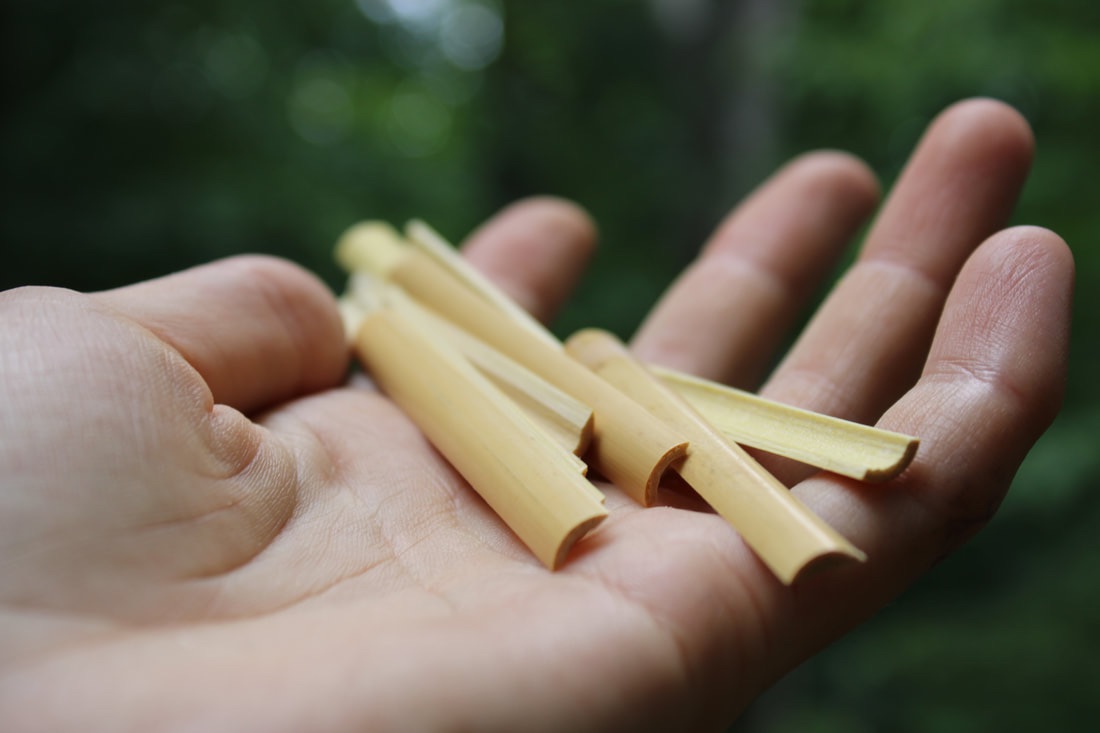
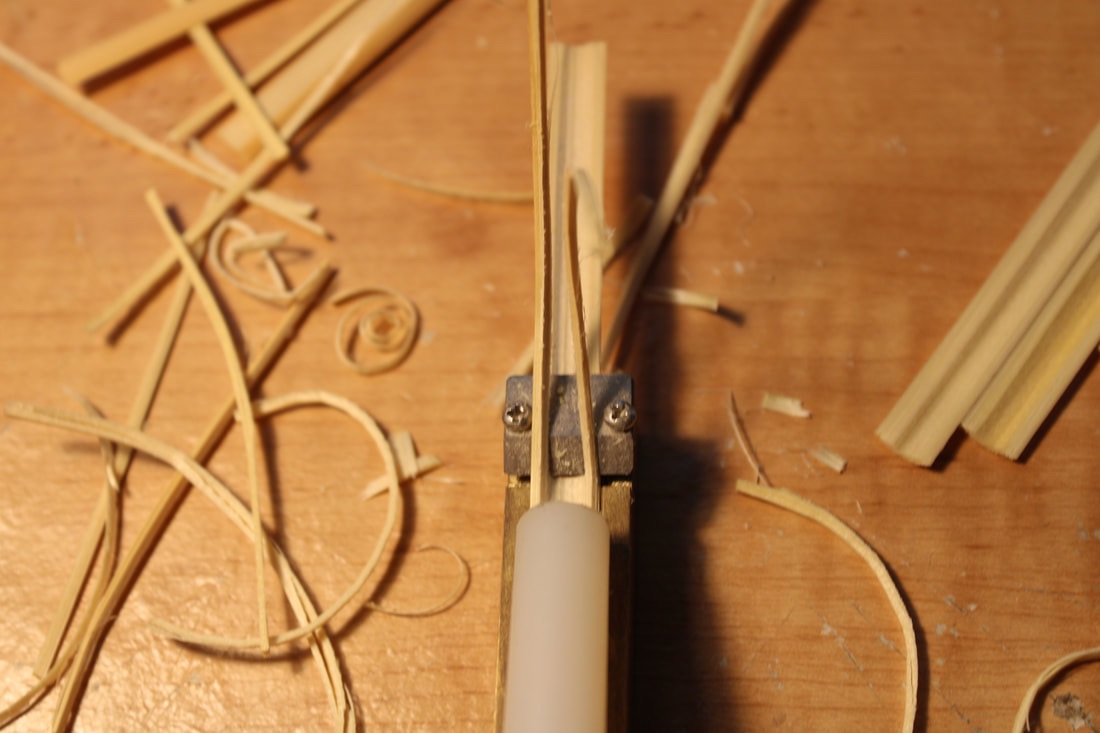
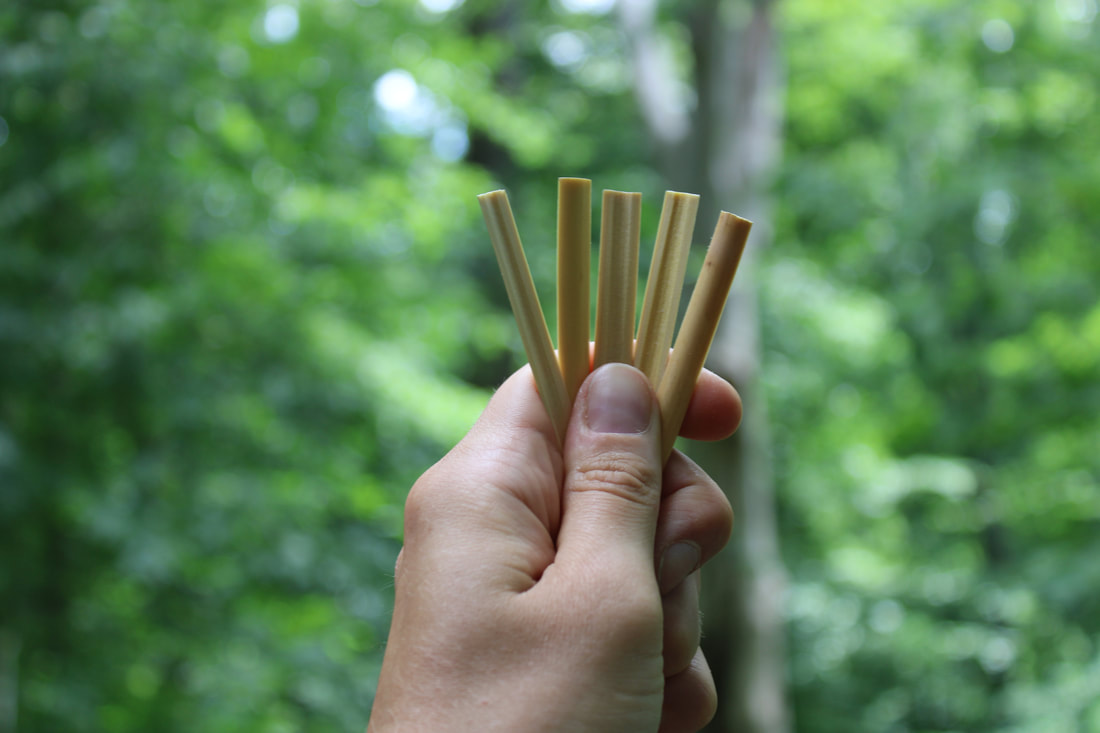
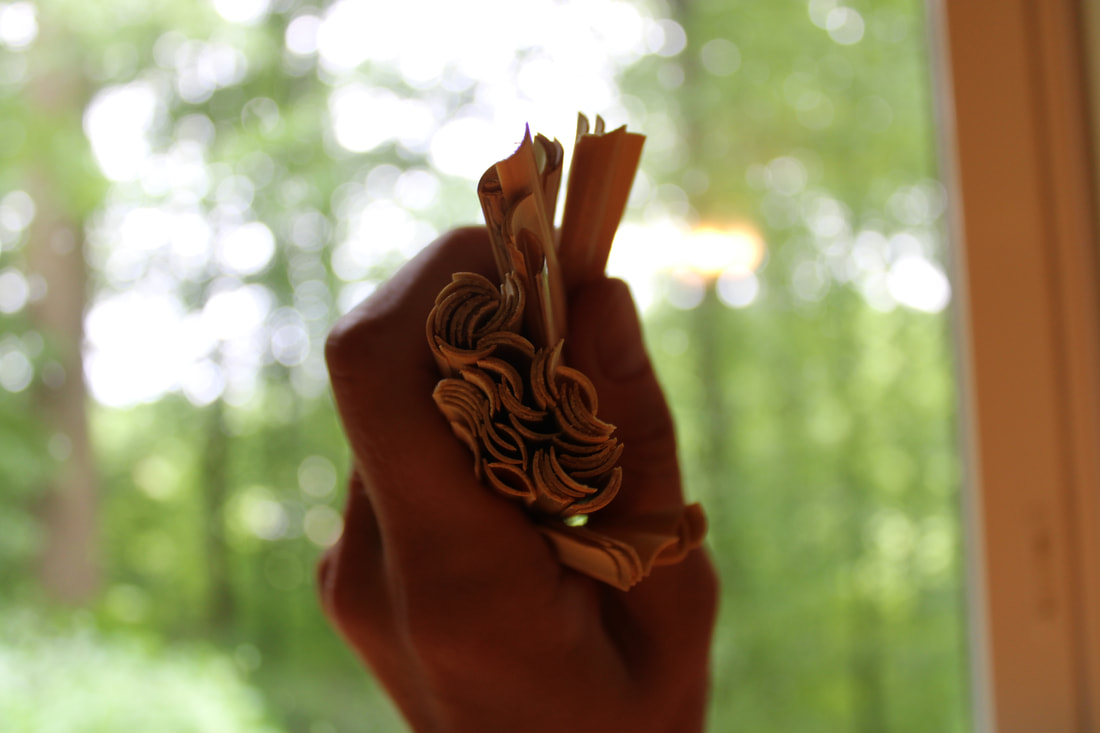
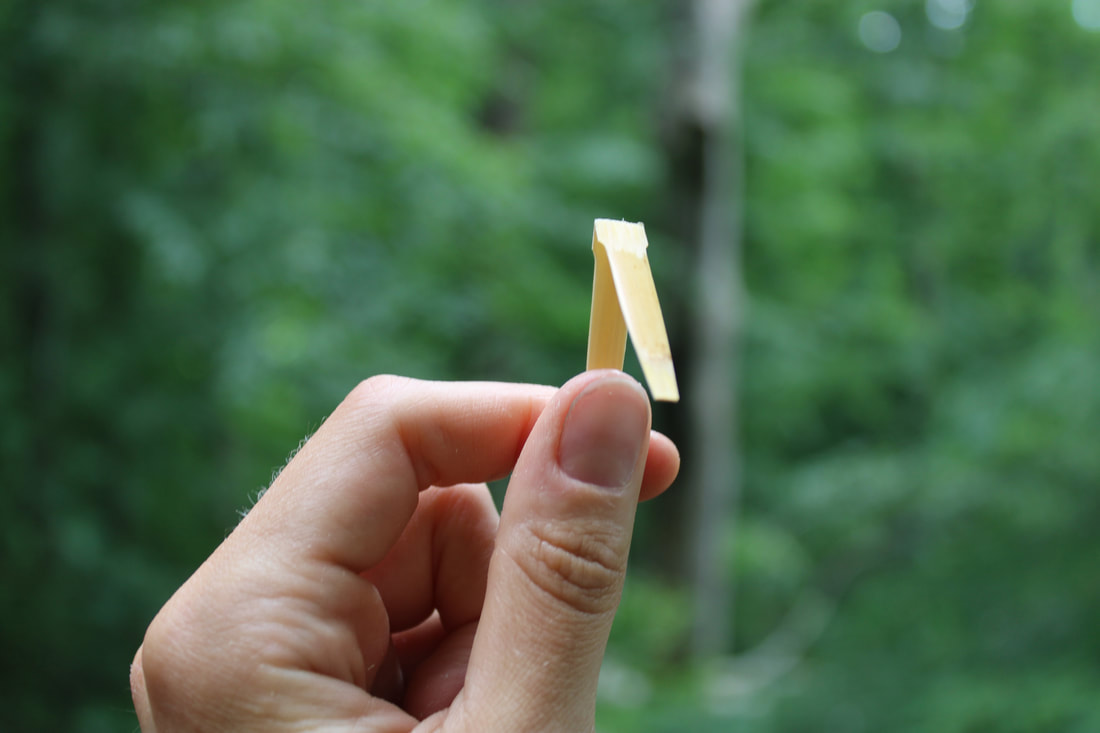
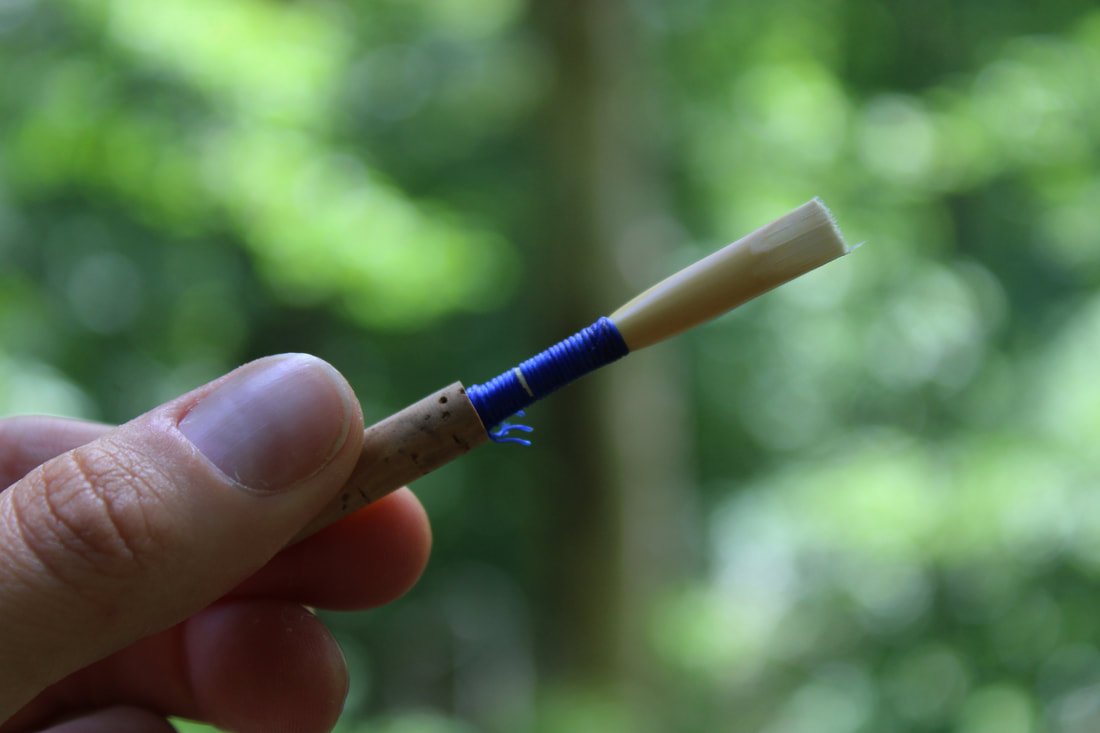
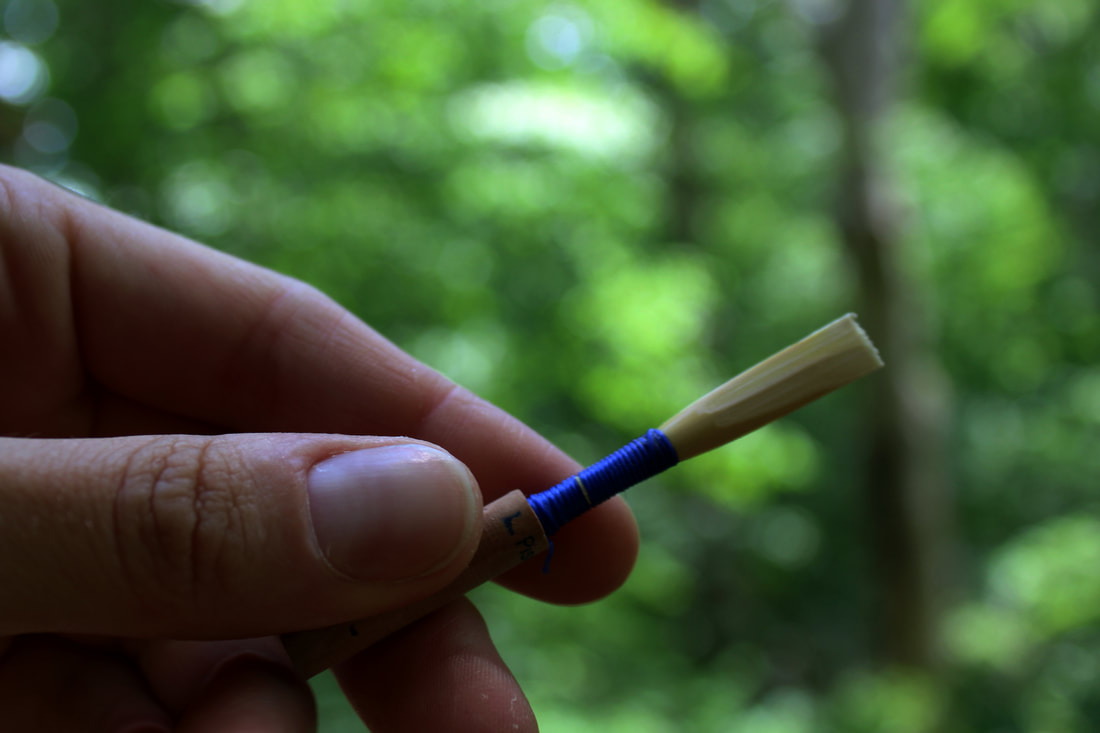
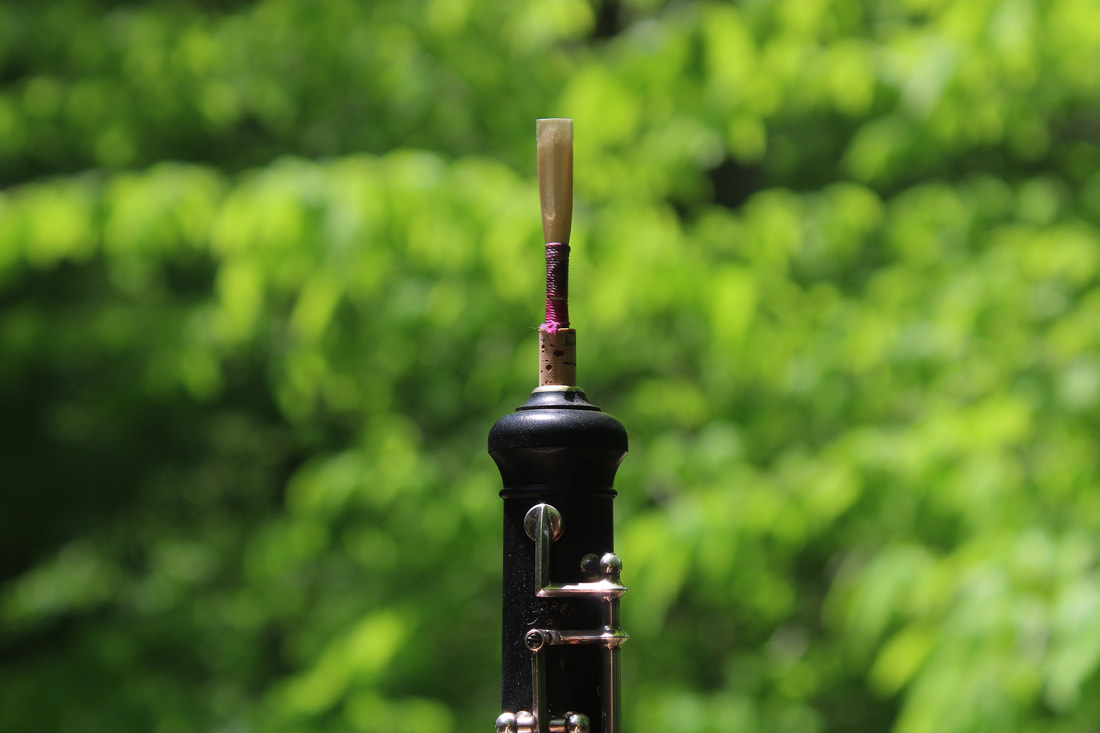
I make my reeds over the course of two weeks. Each reed rests in between steps to allow for the cane to adjust through all of the intense manipulation it undergoes. Following each step, all reeds are given periods of rest. This allows the reeds to gently adjust to their role, giving them more stability. Reeds made in this way typically last longer. First, the cane is processed. Beginning with tubes of Arundo Donax, each piece is split into thirds using a cane splitter. Pieces that will become reeds have a shiny, clear color, and a tight grain. These pieces are measured against a radius gauge for between 10-10.5 mm diameter. Cut pieces of cane are then run through a pre-gouger or planer. This thins the cane, preparing it for gouging. Planed pieces are then gouged using a gouger. The gouger uses a sharp blade which shaves material off the cane thinning it out to very specific measurements. I use an Innoledy gouger which processes cane dry unlike most other machines which require the cane to be soaked for upwards of an hour. With this machine, an arm which is operated by a crank pushes the cane underneath the blade which is manually adjusted down incrementally in several phases. Once the piece of cane has been gouged, it is thin enough to be folded and shaped. The gouged piece of cane is soaked in warm water for fifteen minutes. It is then folded and shaped. To do this the soaked cane is placed on an easel. The bark is scraped from the middle and ends of the cane and scored in the middle using a knife. The cane is then folded in half along the score and placed on the shaper tip. I use a Weber B and Gilbert -1N shape. The cane is shaped to the shaper tip using a razor blade. Shaped pieces of cane are tied onto a staple. I use two kinds of staples. The first kind is made with brass tubing and synthetic cork, these staples are great for younger students and beginners. The second kind are made with silver tubing and cork, Pisoni Pro staples. All staples measure 47mm. Using a C-clamp, and FF nylon thread coated with beeswax, the cane is tied to the staple at 72-73mm depending on the shape to make a blank. The blank is scraped at the tip, making a ‘w’ shape at the top. Blanks are left to dry for at least two days (though I prefer to have many made and drying out for several weeks). Since the cane has just undergone a big transformation, allowing them to rest and dry out completely is necessary for stability and longevity. Once tied onto the staple, reeds are rough scraped. This entails scraping the basic shape of the reed onto the cane-tip, heart, and back areas are becoming defined. Rough scraped reeds are left to dry out completely before being clipped and refined. Rough scraped reeds are re-soaked and the process of refining and adjusting takes place. This involves scraping the tip of the reed to be thin enough to make a sound. Once the reed can make a sound, the back and heart are scraped down to balance the vibrations. Once the scraped reed is responsive and stable, they are left to dry out completely. Reeds are scraped in one or two more sessions to balance response, pitch stability, and tone. Finished reeds are tested on a Loree Royal, sanitized, and left to dry out once more for at least 24 hours before being packaged and shipped to you! |

|
Proudly powered by Weebly